
How to Shoot HDR on DJI Drones
Learn how to shoot HDR photos on DJI drones, including the best camera settings, when to use AEB, how many exposures to capture and how to create a clean HDR image for real estate photography.
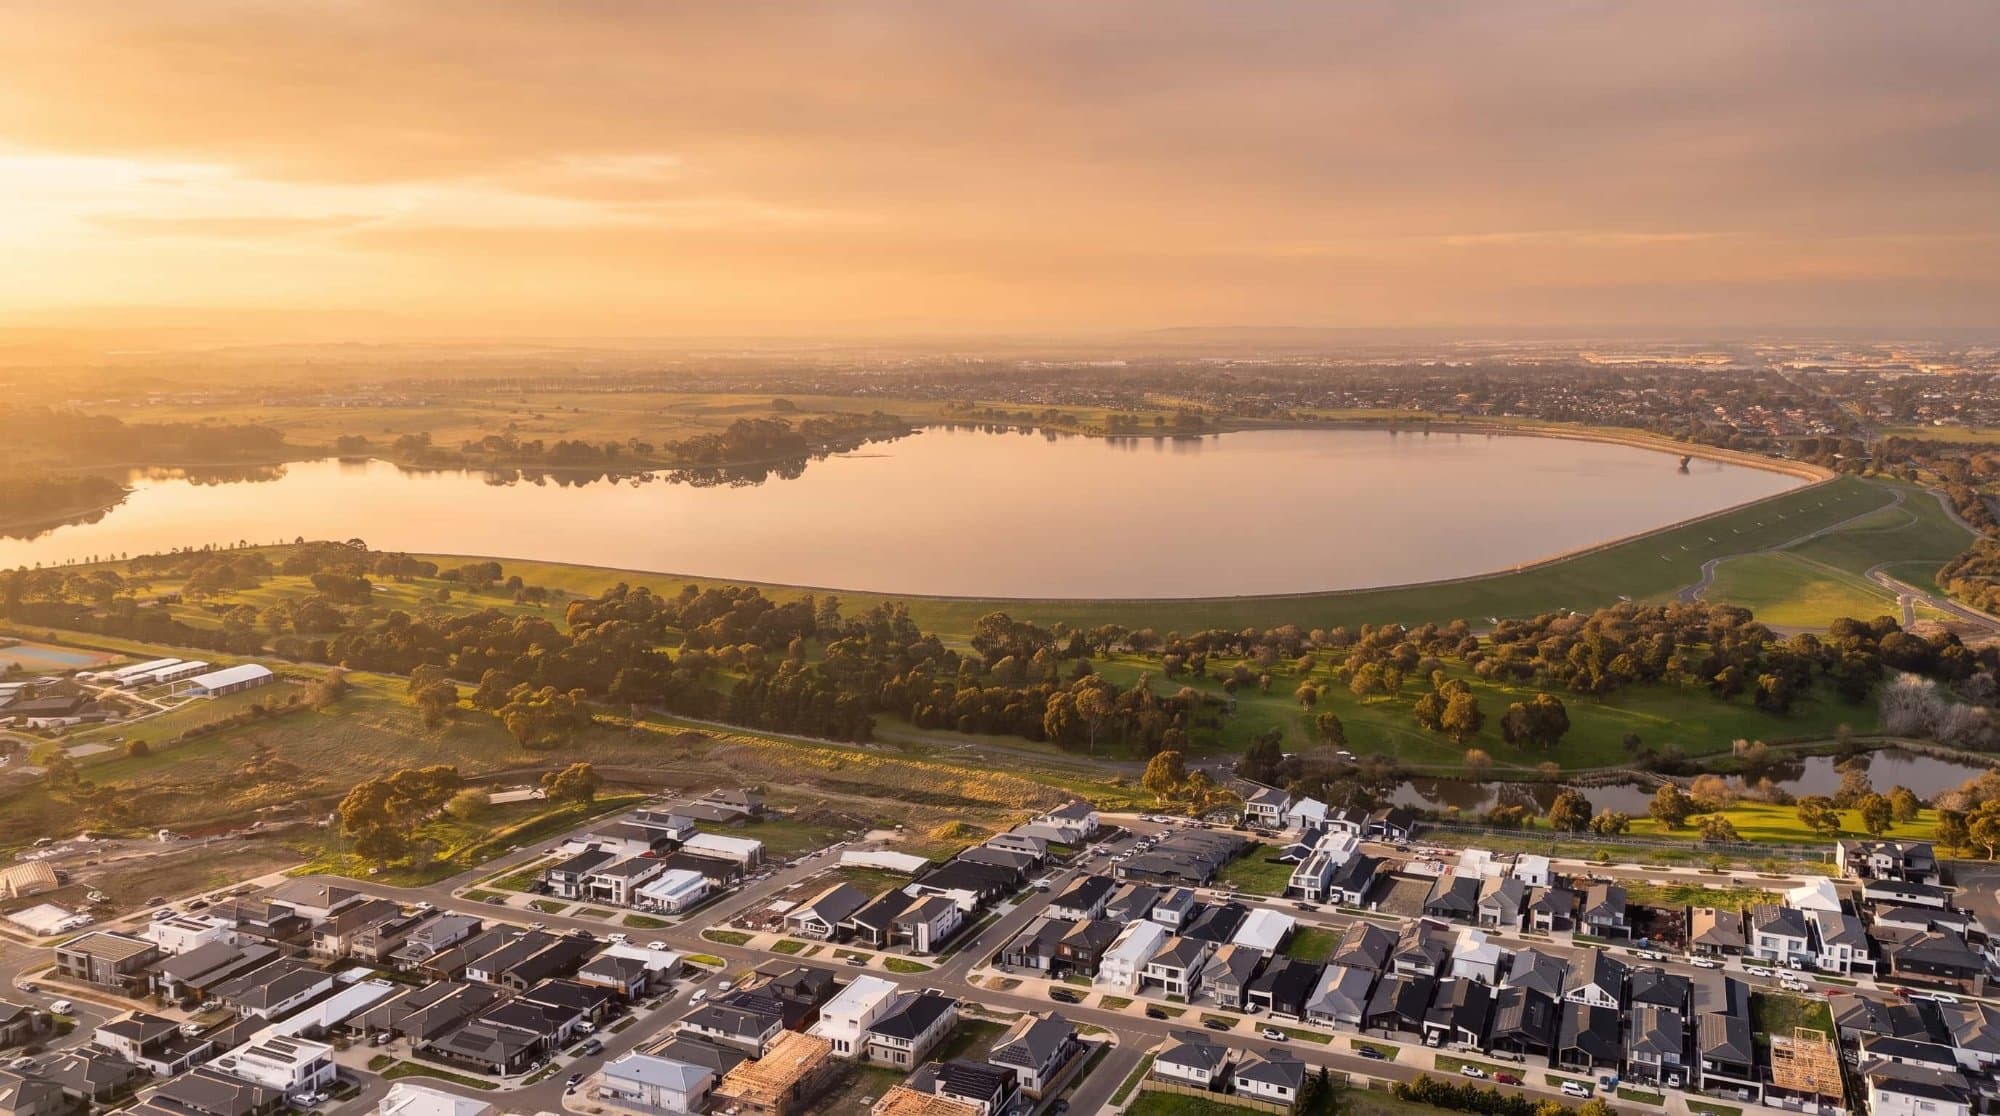
HDR can make a big difference when you're shooting real estate from the air.
A typical aerial photo can have a bright sky, dark shadows around the house and a lot of contrast between the roof, trees and surrounding streets. If you expose for the sky, the property can become too dark. If you expose for the property, the sky can blow out.
HDR helps solve that problem by capturing multiple exposures and combining them into one image.
What Is HDR?
HDR stands for High Dynamic Range.
Instead of taking one photograph at one exposure, your drone captures several versions of the same image at different exposures.
For example:
Underexposed → Normal → Overexposed
You can then combine those images into a single HDR photograph containing more detail across the shadows and highlights.
This is particularly useful for aerial real estate photography because you're often dealing with bright skies and darker buildings in the same frame.
Use AEB on Your DJI Drone
The easiest way to capture HDR manually on many DJI drones is to use AEB, or Auto Exposure Bracketing.
Depending on your DJI model and camera app, you'll usually find AEB in the photo shooting modes.
A common setup is a 3-shot or 5-shot bracket.
For example, with a 5-shot bracket, the drone captures several exposures ranging from darker to brighter.
The drone needs to remain as still as possible between exposures, so avoid moving the aircraft while the bracket is being captured.
What Settings Should You Use?
For real estate photography, start with a few basic settings and adjust them depending on the lighting.
Shoot RAW
If your DJI drone supports RAW or DNG, use it.
RAW files contain much more information than JPEG files, which gives you more flexibility when recovering highlights, lifting shadows and adjusting colour during editing.
If storage isn't an issue, you can also capture RAW + JPEG.
Keep the ISO Low
Use the lowest practical ISO, ideally around ISO 100 in good daylight.
Higher ISO settings introduce more noise, which becomes more noticeable when you're lifting shadows during HDR processing.
Choose Your Aperture Carefully
If your DJI drone has an adjustable aperture, an aperture around f/4 to f/5.6 can be a good starting point in bright conditions.
The exact setting depends on the drone, lens and lighting.
Don't automatically stop down as far as possible. Very small apertures can introduce diffraction and reduce overall sharpness.
When Should You Shoot HDR?
HDR is most useful when there is a large difference between the brightest and darkest parts of the scene.
For example, imagine you're photographing a house with:
Bright blue sky
Dark trees
Shadow across the backyard
Bright roof
Reflective windows
A single exposure may struggle to capture all of these areas correctly.
HDR gives you multiple exposures to work with.
On an overcast day, you may not need it as much because the light is already relatively even.
Keep the Drone Still
This is one of the most important parts of aerial HDR photography.
Your drone needs to stay as stable as possible while capturing the bracket.
If the camera moves significantly between exposures, objects such as trees, cars and buildings can shift slightly between frames.
This can create ghosting when you merge the images.
Avoid shooting HDR while the drone is moving.
Hover in position, allow the drone to stabilise and then capture the bracket.
Merge Your HDR Images
Once you've captured the exposures, you'll need software to combine them.
Adobe Lightroom and Photoshop both support HDR workflows, and there are other dedicated HDR applications available as well.
Import the bracketed images, merge them and then adjust:
- Highlights
- Shadows
- Whites
- Blacks
- Contrast
- Colour
- White balance
The goal isn't to make the image look extremely HDR.
For real estate photography, a natural result usually looks much better.
Don't Overdo the HDR Effect
This is where a lot of HDR photography goes wrong.
Pushing the shadows too far can make the image look flat. Increasing clarity and contrast excessively can create halos around buildings and trees.
You want the final photograph to look like a well-exposed aerial image, not an obvious HDR composite.
Keep the colours natural and retain realistic contrast.
HDR Is Great for Real Estate Drone Photography
HDR can be particularly useful when you're photographing:
- Residential properties
- Luxury homes
- Acreage
- Commercial properties
- Development sites
- Coastal properties
- Properties with large gardens
The extra dynamic range can help you retain detail in both the property and the sky.
Once you've created your final aerial photograph, you can also use AerialPin to add property boundaries, labels and nearby points of interest.
For example, you could combine a high-quality HDR aerial image with a clean property outline and nearby location markers to create a more informative marketing image.
AerialPin's AI Auto Place can also help position nearby points of interest on compatible drone images.
A Simple DJI HDR Workflow
If you want a quick starting point, try this:
RAW/DNG → ISO 100 → AEB 3 or 5 shots → Hover steadily → Merge exposures → Natural colour grade → Add annotations
The exact settings will depend on your DJI drone and the lighting conditions, but the basic principle stays the same.
Capture enough exposure information to protect your highlights and recover your shadows, then keep the final edit natural.
For real estate drone photography, that's usually the difference between an HDR image that looks professional and one that looks heavily processed.