
How to Stitch a 360 Panorama From DJI Drone Photos
Learn how to turn your DJI drone photos into an immersive 360 panorama. From capturing overlapping aerial images to stitching them together and adding annotations, this guide walks you through the process of creating interactive 360 imagery for real estate, land and property marketing.
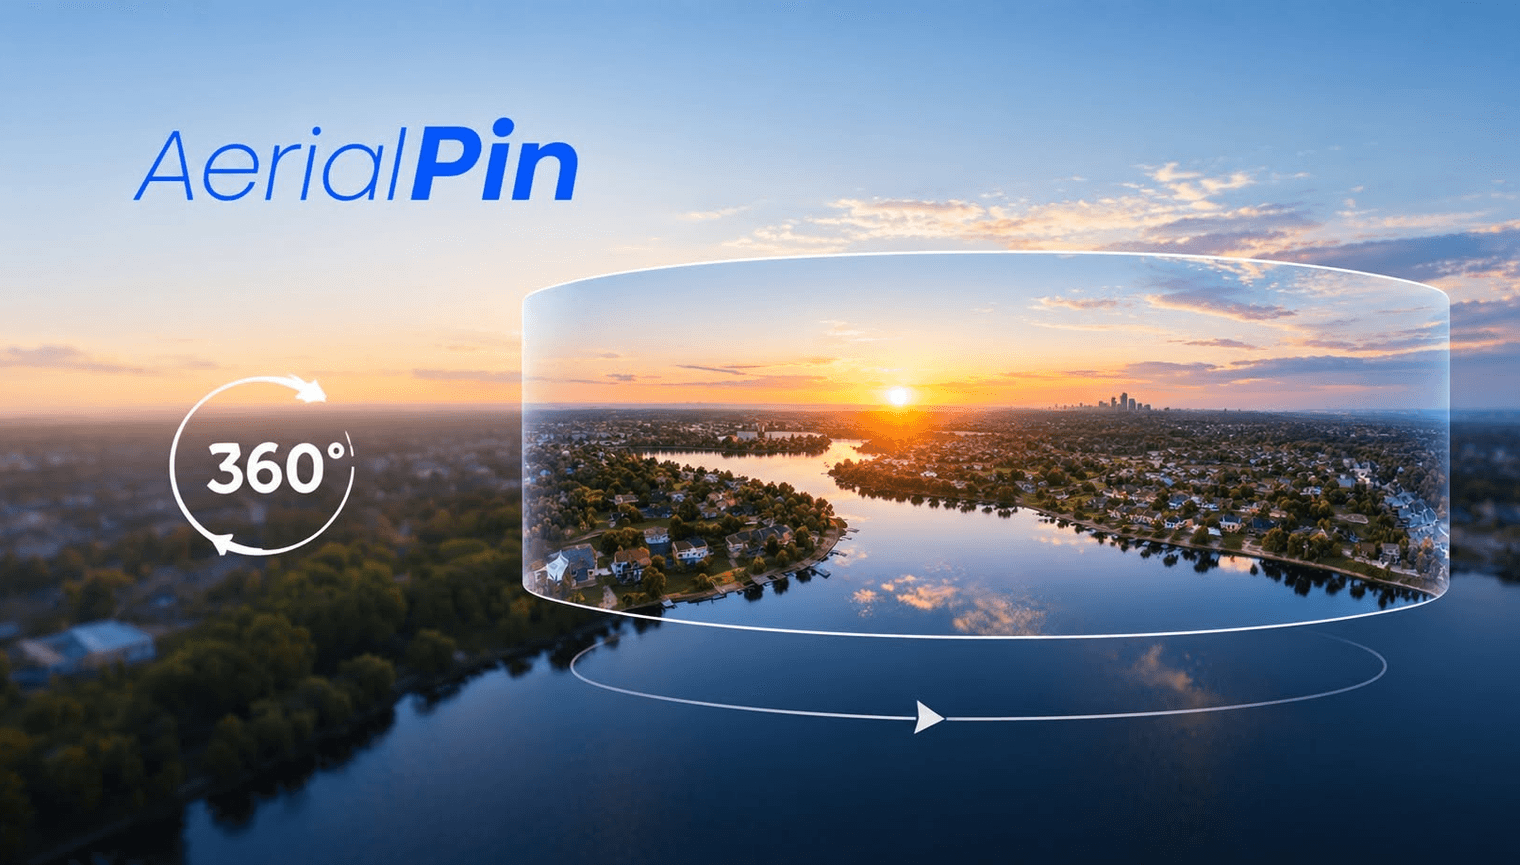
DJI drones make it easy to capture detailed aerial photography, but you don't have to stop at traditional aerial images.
By taking a series of overlapping photos from the same position, you can stitch them together into a 360 panorama that lets people look around the entire scene.
This can be especially useful for real estate photography, land sales, development sites and property marketing where the surrounding area is just as important as the property itself.
Here's how the process works.
What is a drone 360 panorama?
A 360 panorama is created by combining multiple photographs taken from different angles into one large panoramic image.
Instead of having one fixed aerial photograph, the final image allows someone to look in every direction.
For a DJI drone, the process generally looks like this:
Capture multiple photos → stitch the images → create an equirectangular panorama → view it in a 360 viewer
The final panorama is usually exported in a 2:1 aspect ratio, such as 8000 × 4000 pixels.
Step 1: Find a good position
Before taking your photos, fly the drone to a position that gives you a clear view of the property and surrounding area.
For real estate, consider what you want the viewer to see.
You might want to include:
- The entire property
- Surrounding homes
- Roads and intersections
- Parks and reserves
- Waterfront
- Nearby developments
- Rural land
- Mountain or city views
Try to avoid having large objects such as trees or buildings extremely close to the drone, as they can make stitching more difficult.
Step 2: Keep the drone in the same position
The more consistent your camera position is, the easier the panorama will be to stitch.
Once you've found your position, try to keep the drone stationary while capturing the sequence.
The goal is to rotate around the same point rather than moving the drone between every photograph.
This gives the stitching software a much more consistent set of images to work with.
Step 3: Capture overlapping photos
Now capture a series of photographs around the full 360 degrees.
Each image should overlap significantly with the previous image.
For example:
Photo 1 → Photo 2 → Photo 3 → Photo 4 → Photo 5 → ...
The software needs common features between photographs to understand how they fit together.
Buildings, windows, fences, roads and other details can all help with this process.
More overlap generally gives the stitching algorithm more information to work with.
Step 4: Keep your camera settings consistent
Try to use the same exposure settings throughout the entire sequence.
Manual exposure is usually preferable because the camera won't change brightness between photographs.
Keep things like:
- ISO
- Shutter speed
- Aperture
- White balance
consistent throughout the sequence.
If the exposure changes dramatically between photos, you may end up with visible differences across the finished panorama.
Shooting RAW can also give you more flexibility when editing the images later.
Step 5: Import your photos into stitching software
Once you've finished flying, transfer the photos to your computer.
There are several panorama stitching applications available, including dedicated panorama software and image editing applications.
The stitching software analyses the photographs and searches for matching features.
For example, it might recognise that the corner of a building appears in both Photo 8 and Photo 9.
It can then use those matching points to work out how the photographs should be aligned.
Step 6: Stitch the images together
The software combines the photographs into a single panoramic image.
Behind the scenes, the process involves several stages:
Feature detection
The software identifies distinctive points in each photograph.
Feature matching
It finds the same points across neighbouring photographs.
Image alignment
The software calculates how the photographs need to be positioned relative to each other.
Projection
The images are transformed into a panoramic projection.
For a full 360 panorama, the preferred final projection is generally equirectangular.
What is an equirectangular panorama?
An equirectangular panorama is a flat representation of a 360-degree environment.
It looks unusual when viewed as a normal image because the entire scene has been stretched across a rectangle.
A typical 360 panorama has a 2:1 ratio.
For example:
8000 × 4000
or
12000 × 6000
When this image is loaded into a 360 viewer, the viewer wraps the image around a virtual sphere.
That's what allows someone to look around in every direction.
Step 7: Check for stitching problems
Once the panorama has been generated, inspect it carefully.
Look for:
- Misaligned buildings
- Bent roofs
- Duplicate objects
- Visible seams
- Distorted roads
- Ghosting
- Exposure changes
- Missing sections
Moving objects can cause some of the biggest problems.
For example, if a car moves between two photographs, the stitching software may see two different versions of the same car.
This can result in a duplicated or distorted vehicle in the final panorama.
Step 8: Open the panorama in a 360 viewer
Once the panorama is finished, you can load it into an interactive 360 viewer.
Instead of viewing the entire equirectangular image at once, the viewer displays the scene from a specific viewpoint.
The user can then:
Drag to look around
Scroll to zoom
Explore the entire scene
This makes the image much more immersive than a traditional aerial photograph.
Why use 360 panoramas for real estate?
A traditional drone photo shows the view chosen by the photographer.
A 360 panorama gives the viewer control over what they want to see.
This can be particularly useful when selling land or properties where the surrounding location is important.
A single panorama can show the relationship between a property and:
- Nearby streets
- Parks
- Schools
- Shopping centres
- Neighbouring developments
- Waterfront
- Open land
- Major landmarks
Instead of sending a client dozens of aerial photographs, you can give them one interactive view that they can explore.
Adding annotations to your 360 panorama
360 panoramas can also be used as an interactive canvas.
For example, you could add annotations for:
Property boundaries
Show exactly where the property sits within the surrounding area.
Nearby locations
Highlight parks, roads, schools or shopping centres.
Development sites
Point out existing or future developments.
Custom notes
Add your own labels to important features visible from the drone.
This can turn a simple 360 photograph into a useful property marketing and mapping tool.
Stitching DJI photos with AerialPin
AerialPin is designed to make aerial imagery more useful for property professionals.
With AerialPin's 360 Panorama workflow, you can upload multiple drone photographs and stitch them into a panorama without having to manually combine every image.
Once the panorama has been generated, you can open it in an interactive 360 viewer and annotate the scene.
This creates a workflow that goes beyond simply taking an aerial photograph.
Capture your DJI photos → stitch them into a panorama → explore the 360 view → annotate important locations → share it.
Final thoughts
Creating a 360 panorama from DJI drone photos doesn't require a completely different photography workflow.
The key is capturing a consistent series of overlapping photographs from the same aerial position.
Once those images are stitched together, you can turn them into an interactive 360 experience that gives clients and property buyers a much better understanding of the location.
For real estate photographers, drone operators and developers, it's another way to get more value out of the aerial images you're already capturing.
Your drone can capture more than one photo. It can capture the whole view.